


")


Tune your bike
Presets
At the top of the Tune page is a Presets menu. When you tap on the preset menu button, the list of default presets will be displayed. You have the freedom to change the default Support and Peak Power settings for each mode and to customize the characteristics based on your needs and preferences. If you want to keep those changes, you have the ability to save up to 30 individual mode settings.
To create a custom Support and Peak Power Preset:
- Go to Tune.
- Tap on the '+' symbol and move the slider to your preferred value.
- Give your custom preset a name before saving it. After you've saved a preset, you can change the name by tapping on the cog icon.
If you change custom Preset values, you can either save the new settings by selecting Update or you can keep the original values by choosing Reset.
To activate a Preset, simply tap on the desired Preset from your list of custom and factory default settings.
Range Extender Battery
There are some unique Mission Control features when using a Range Extender Battery with the system.
On the Start Screen you will see the state of charge for either the internal battery only (100% max) or, if a Range Extender battery is in use, the state of capacity for both batteries (150% max). The Range Extender Battery adds half the capacity of the internal battery (i.e. 160 Wh on top of 320 Wh).
In the Diagnose menu, both batteries can be viewed separately and each battery will be shown with a state of charge of 100% max. Battery details, such as the health status, can also be viewed separately.
Range Extender First
The default setting is for both batteries with your Turbo SL system to be discharged simultaneously. This default can be changed in Mission Control with the option to Fully Discharge Extender Battery First. To activate this setting, you need to restart your bike after toggling ON.
Overall, activating 'Extender Battery First' only makes sense if you want to remove the Extender Battery during your ride in order to have a lighter bike or to use the bottle cage for hydration. If you discharge the Extender Battery first, you will notice a faster decrease in motor power because of a quicker drop in voltage. Excessive use of this option may impact long-term battery health as the Extender Battery cells experience more strain. We generally recommend parallel discharging.
Charge Limit
To further extend your battery's health, you can enable the Charge Limit. Charge Limit will limit your battery to an 80% charge, with a full 100% charge every 10 charges for calibration. This feature is useful if you ride your bike often, but you don't need the full battery capacity. If you are charging your bike with a range extender simultaneously, the system will fully charge the range extender and limit the bike's battery charge for a total of 130% vs. 150% without the charge limit. You can deselect the feature at any time if you need a full charge.
The following bike families are not compatible with the Charge Limit feature:
- Levo/Kenevo Gen1 bikes with Trail Display batteries
- Vado/Como Gen1 bikes equipped with BLOKS or Turbo Connect wired displays (TCD-w)
- Turbo S/ X/ FLR (rear hub motors)
All other bikes are compatible. Bikes with the latest battery and display firmware can enable the Charge Limit feature. To check your firmware status, open the Mission Control app and select Diagnose.
For more information, see Charge Limit FAQ.
Support
The Support level defines the proportion of motor assist against your own pedaling input. A higher Support level results in more motor power to assist your leg power. In other words, a higher level provides you with faster accelerations, easier climbing, and less leg power to maintain the same speed. Using a higher Support level results in more battery consumption, which leads to a reduced range. You may also have a greater risk of wheel-spin on loose terrain.
A Support level lower than 100% can always be compensated by rider effort. For example, pedaling in Trail Mode with Support set at 50% will require approximately double the effort to get the same motor assist as compared to pedaling in Turbo Mode with Support set at 100% (given identical Peak Power settings).
Peak Power
This feature refers to the power output by the motor for each Support Mode. This can be set up to 100% for all Support Modes. If Peak Power is set to 100% for all Support Modes, the harder you pedal, the more assist you'll get in each Support Mode. For example, if a Support Mode is set at 35%, with Peak Power set at 100%, you can still achieve 100% motor output by pedaling with more effort and a higher rider torque. If Peak Power is set at less than 100%, you'll limit the amount of power that the motor delivers and this will create an artificial ceiling that cannot be compensated for with leg power. Lower Peak Power improves range and allows for a greater differentiation between the Support Modes.
Additional settings for Levo and Kenevo bikes only
Acceleration Response
Acceleration Response determines how quickly the motor responds to your rider input. Usually, a lower response value results in more traction and control on loose ground and technical trails.
The default setting (0%) ensures a good balance of control and direct motor response. Setting the Acceleration Response to 0% results in the slowest response whereas 100% provides the fastest response.
The best setting will depend on the terrain as well as on your riding style and personal preference. For typical trail use, setting it above 50% is not recommended because you sacrifice control.
Shuttle
With Shuttle activated, you easily get full motor support when pedaling at a higher cadence with less leg power. Generally speaking, the motor delivers high power in the most typical riding cadences above 50 RPM when Shuttle is on. So, if you're someone that prefers to spin a high cadence with less leg power, you're now able to get maximum motor support. Additionally, Shuttle gives you full support with less leg power when starting from a standstill, like at a traffic light.
0% means that Shuttle is off and 100% results in the maximum effect of Shuttle. Experiment with your ideal setting by starting at 10% and work your way up until you find your personal sweet spot. Be aware that range and ride time decrease when ramping up Shuttle. The chosen Shuttle value applies to all modes.
Fake Channel (ANT+)
Using the Fake Channel, you can display the battery state of charge (SoC) of a Turbo Levo/Kenevo battery on any ANT+ device (wearables, GPS devices, bicycle computers, etc.).
To connect to a device:
- Go to Tune.
- Activate the Fake Channel in the TUNE menu (e.g., Cadence).
- Restart bike to activate Fake Channel.
- Search for sensors in ANT+ device and choose faked sensor (if necessary, make needed data field for sensor visible).
- See the battery’s state of charge in the chosen menu of the ANT+ device. Example if you choose “Cadence” on you ANT+ device, where you would typically see your cadence you will now see your bike's battery charge level.
Stealth Mode
When Stealth Mode is turned on, the LEDs of the display will turn dark shortly after you press a button. This does not apply to all Turbo models.
Garmin Radar
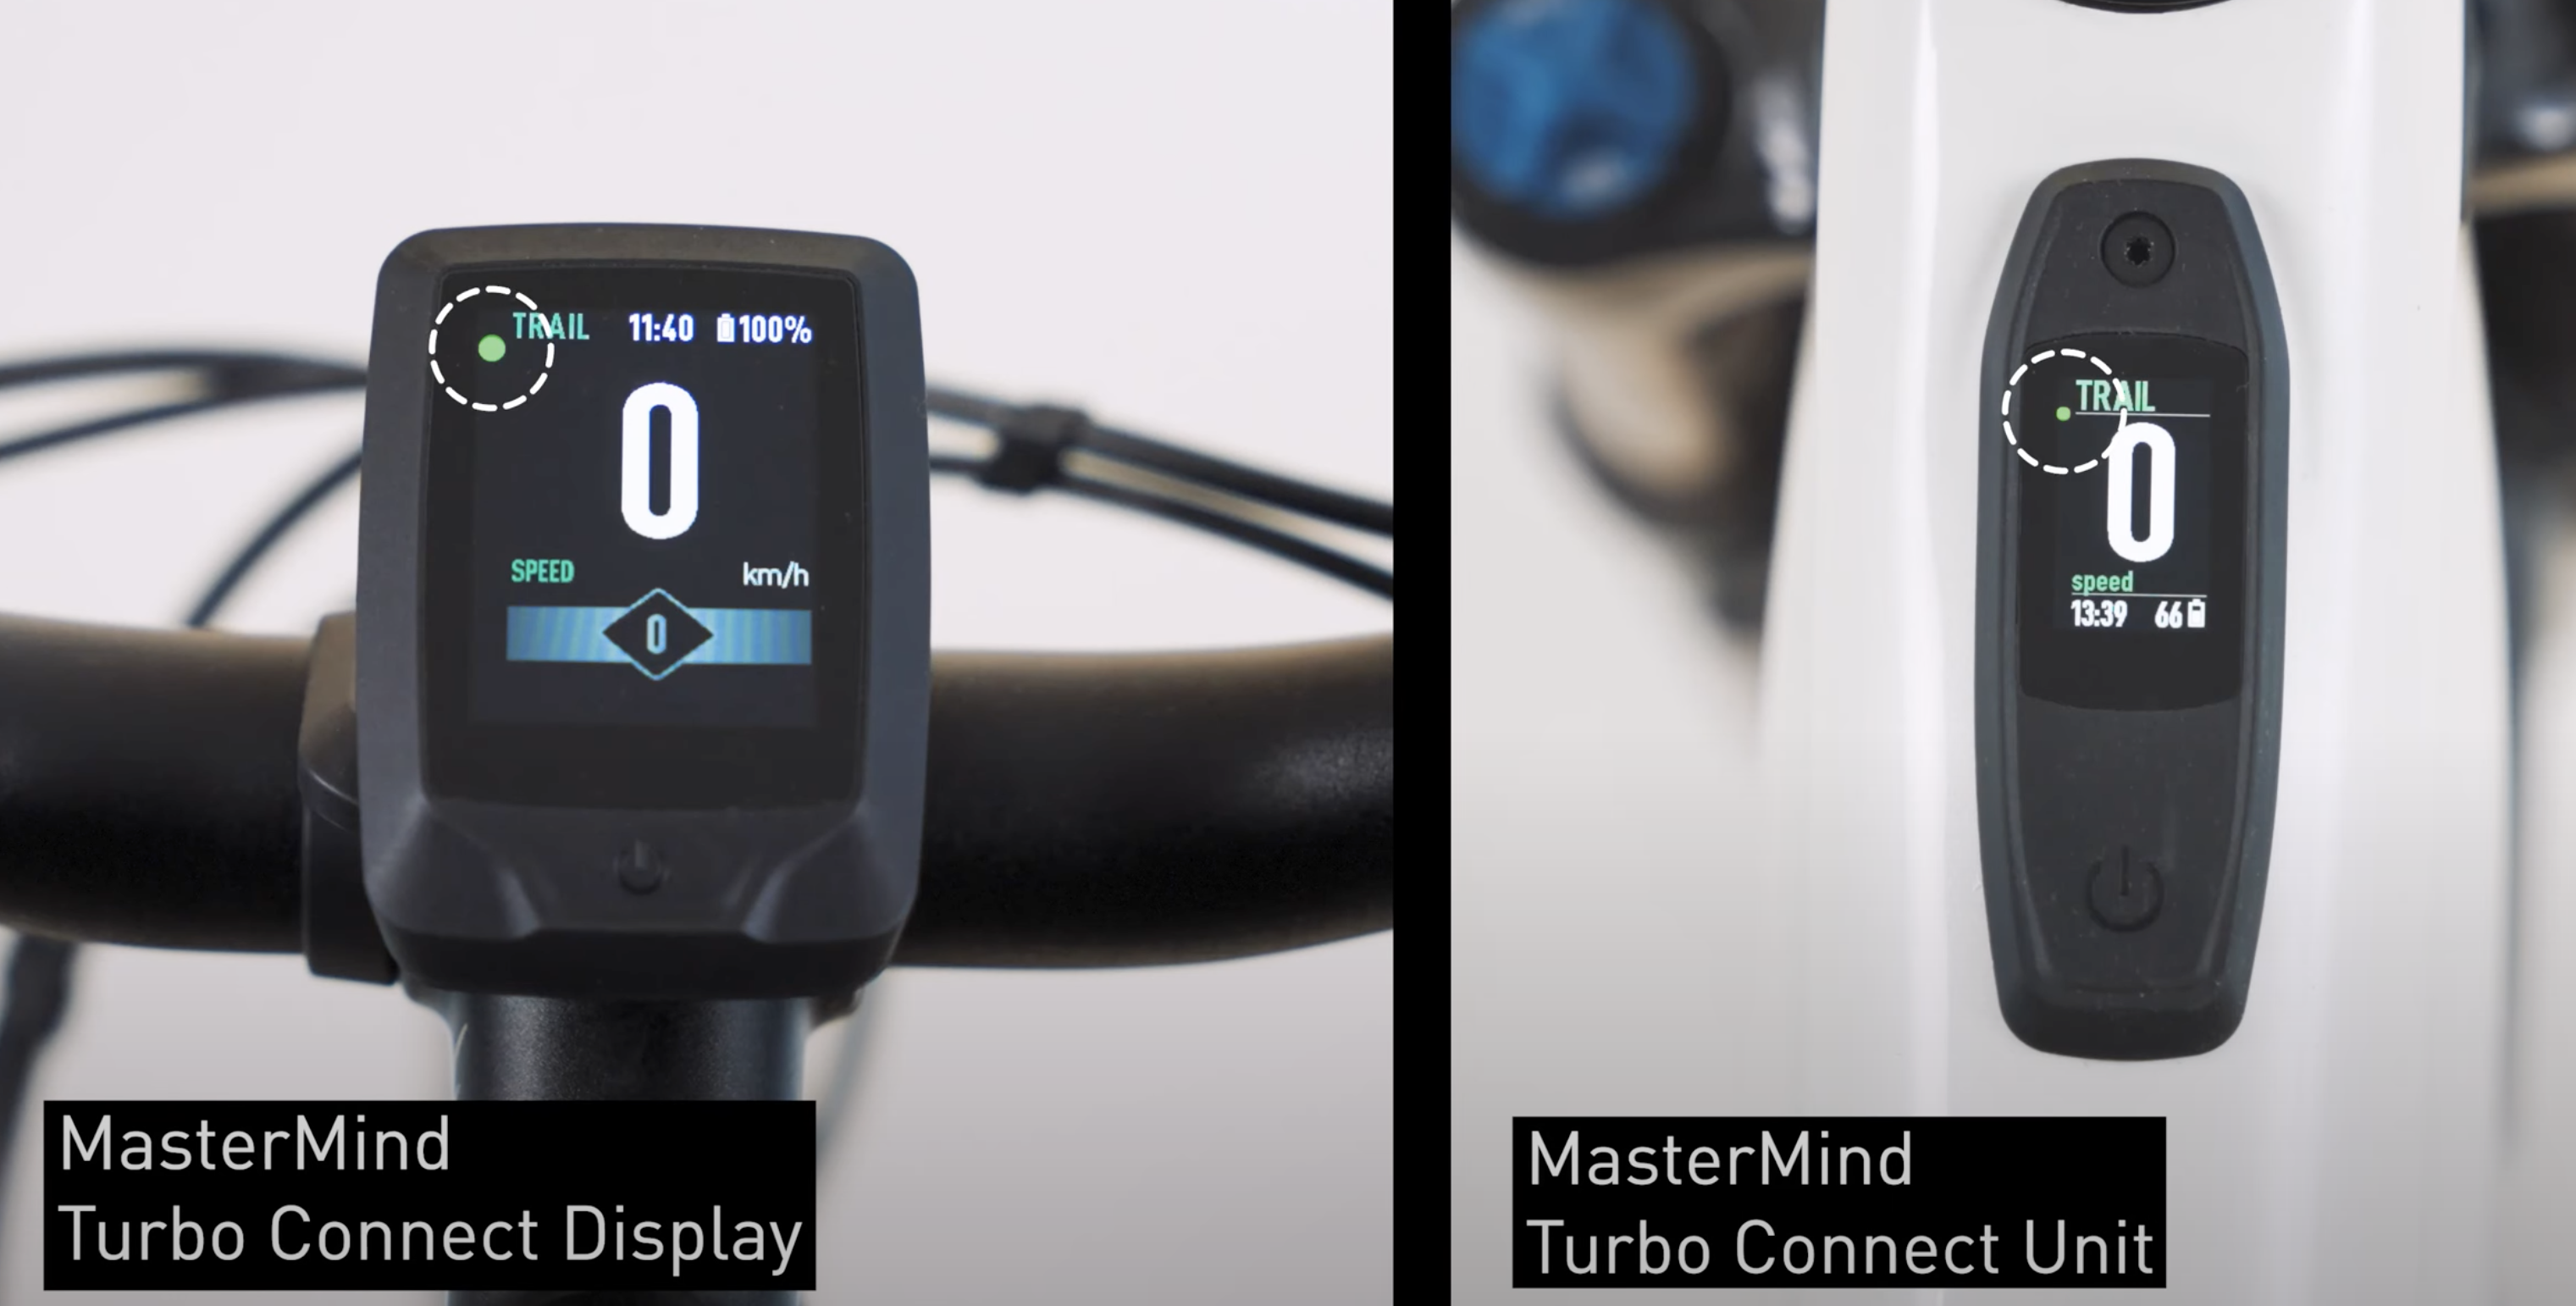
If your bike has a MasterMind Turbo Connect Display or Unit, it is compatible with Garmin radar. With Garmin radar enabled, the MasterMind display emits visual and audible alerts as well as subtle haptic alerts in the handlebar remote to warn you of approaching and passing vehicles up to 140 meters (150 yards) away.
If you have Mission Control v3.5, you can customize Garmin radar settings within the Mission Control app:
- Radar Alerts = turn the radar beeper on or off
- Radar Vehicles Cleared Alert = allows the rider to turn off the short beep that confirms all the cars have cleared
- Radar Alerts Speed Threshold = allows the rider to set a speed threshold for the activation of the beeper. For example:
If I set the threshold to 0 km/h, the beeper is always on
If I set it to 1 km/h, it would not beep when I am stopped at a traffic light
If I set it to 6 km/h, it would not beep when I am stopped at a traffic light or traveling slower than 6 km/hour (such as walking my bike)
For more information on Garmin radar, see the video below:
Battery Beeper
Turn the battery or display beeper on or off. A restart of the bike is required to save the setting.
Race Gate Beeper
The rider has the option to turn 'ON' or 'OFF' the Race Gate Beeper. With the feature turned on, the rider will hear the sound whenever they turn the bike on.